NanoDose™ Standalone pH Control Recirculation Kit
Additional Options
Refer to your chosen alkali chemical spec sheet for dilution guidelines.
This System Includes


Tank Assembly Options
NanoDose™ Standalone pH Control Recirculation Kit
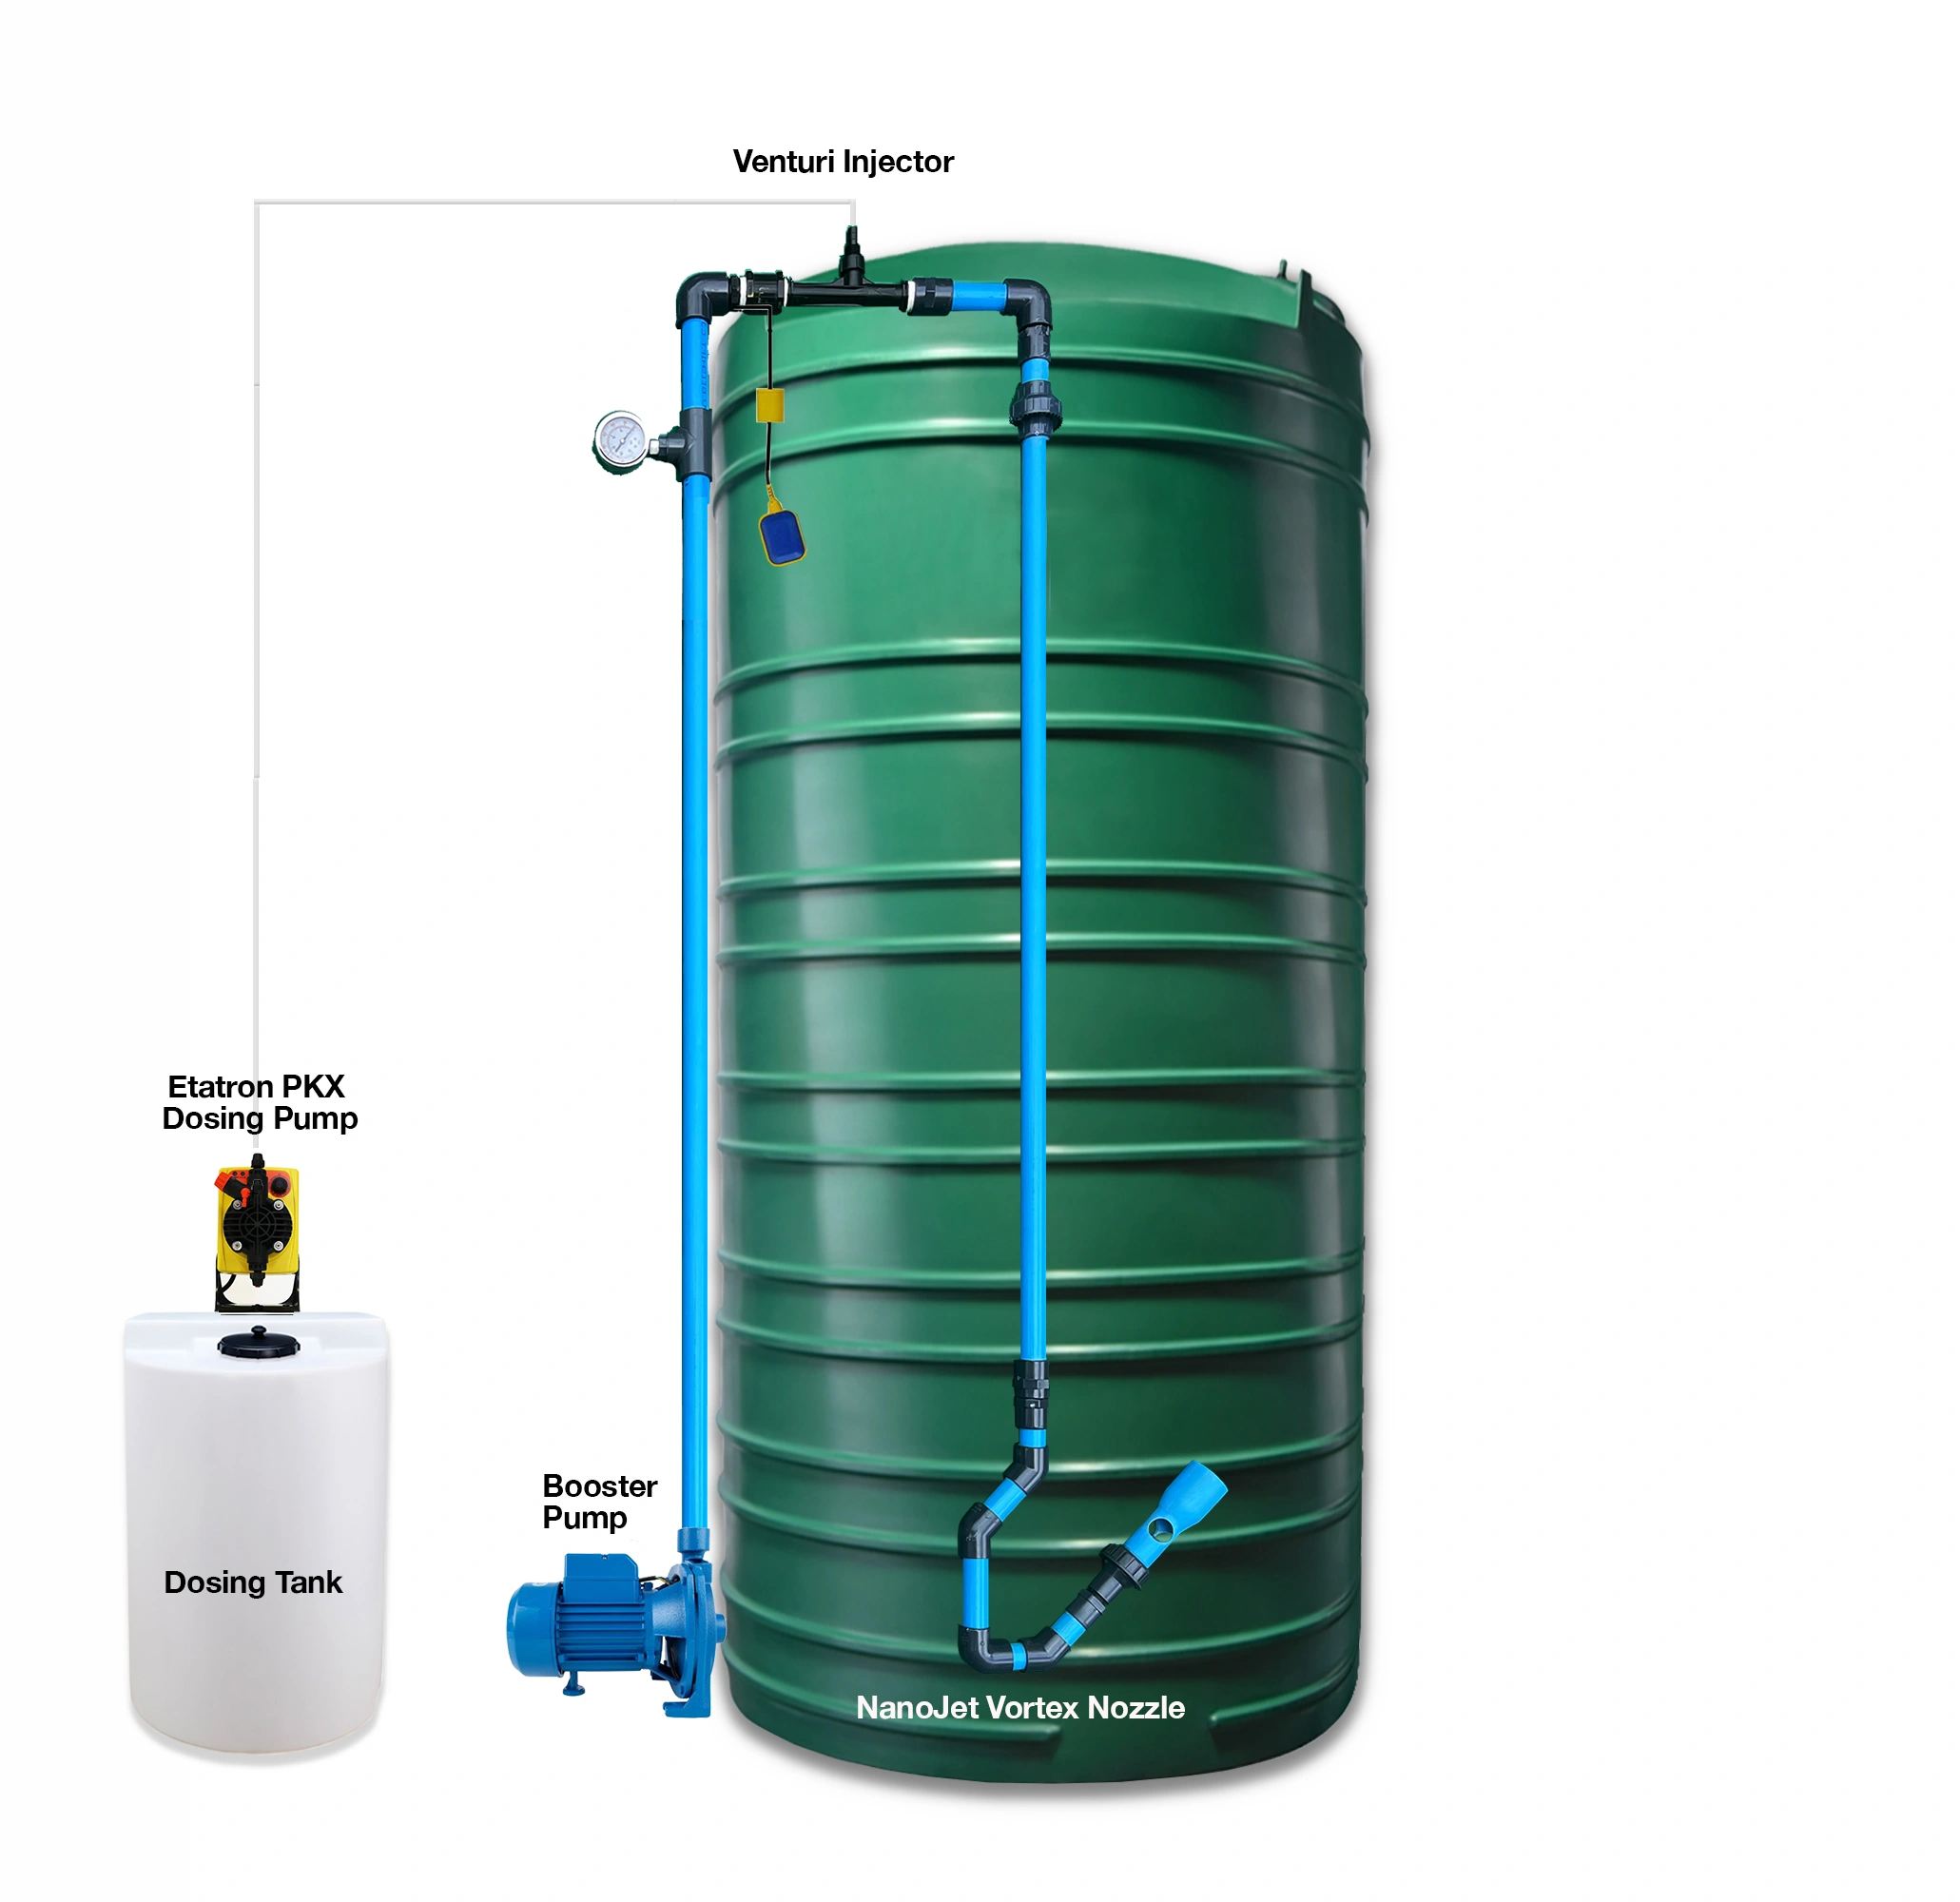
Complete automatic pH correction for a storage tank: NanoJet™ recirculation loop, probe-controlled dosing pump and 100 L chemical tank. Chemicals not included.
What it is for
Raising and holding the pH of acidic water in a storage tank. Acidic water corrodes pipes, geysers and fittings and stops iron and manganese removal working properly. A pH probe on an incoming pipe never reads the true pH, because the water reaches the tank before the chemical has reacted – so this kit measures and doses on its own recirculation loop.
Why “standalone”: the kit mounts on the side of your storage tank and brings its own NanoJet™ recirculation loop. It treats the water already in the tank, so it doesn’t depend on a borehole pump running or on the water flowing past an injection point.
How it works
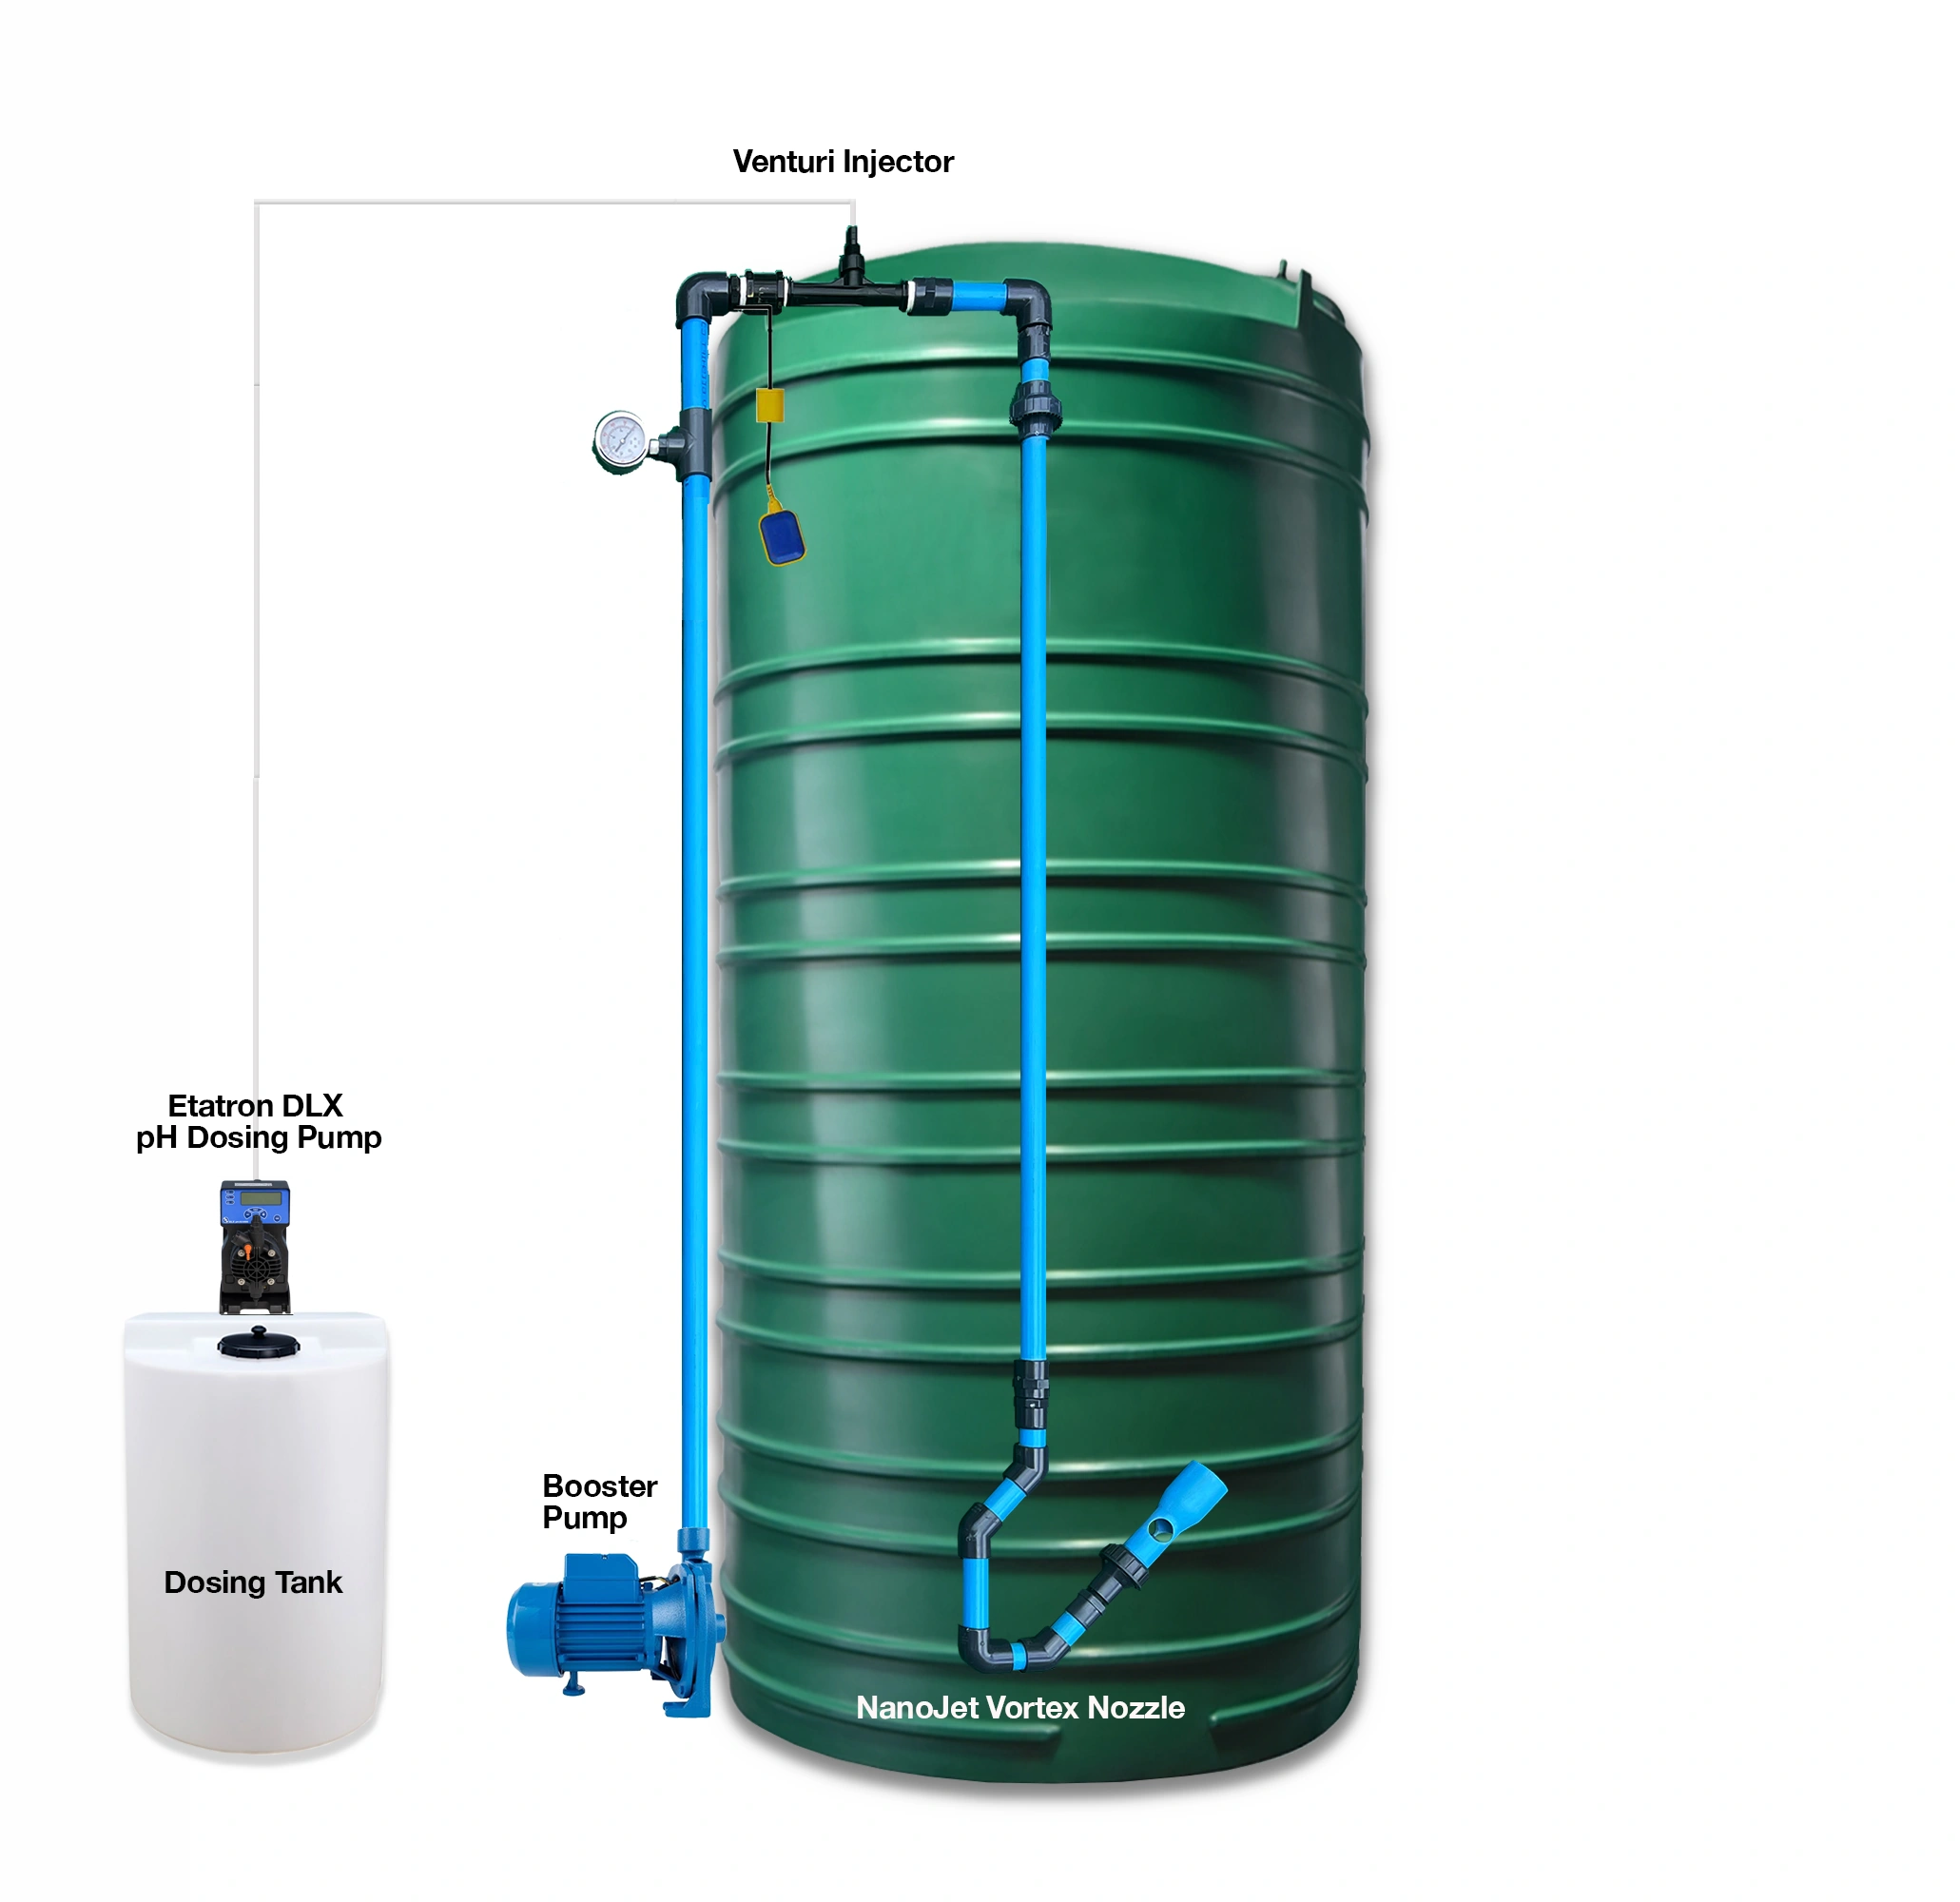
- The NanoJet™ pump continuously draws water from the tank and returns it through the venturi injector and NanoJet™ turbulence reactor, keeping the whole tank mixed.
- The pH probe sits in this loop, so it reads the real, mixed tank water.
- When the pH drops below your set point (typically 7.5–8.5), the DLX pump doses alkali into the venturi, where it is drawn into the jet and spread through the tank. It stops dosing once the set point is reached.
What’s included
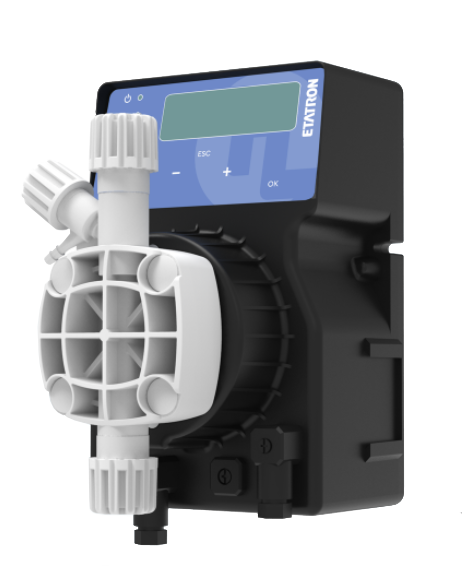
- Etatron DLX pH dosing pump & probe kit – up to 20 L/h, up to 20 bar, with pH probe for automatic control: it doses only when the pH drifts from your set point.
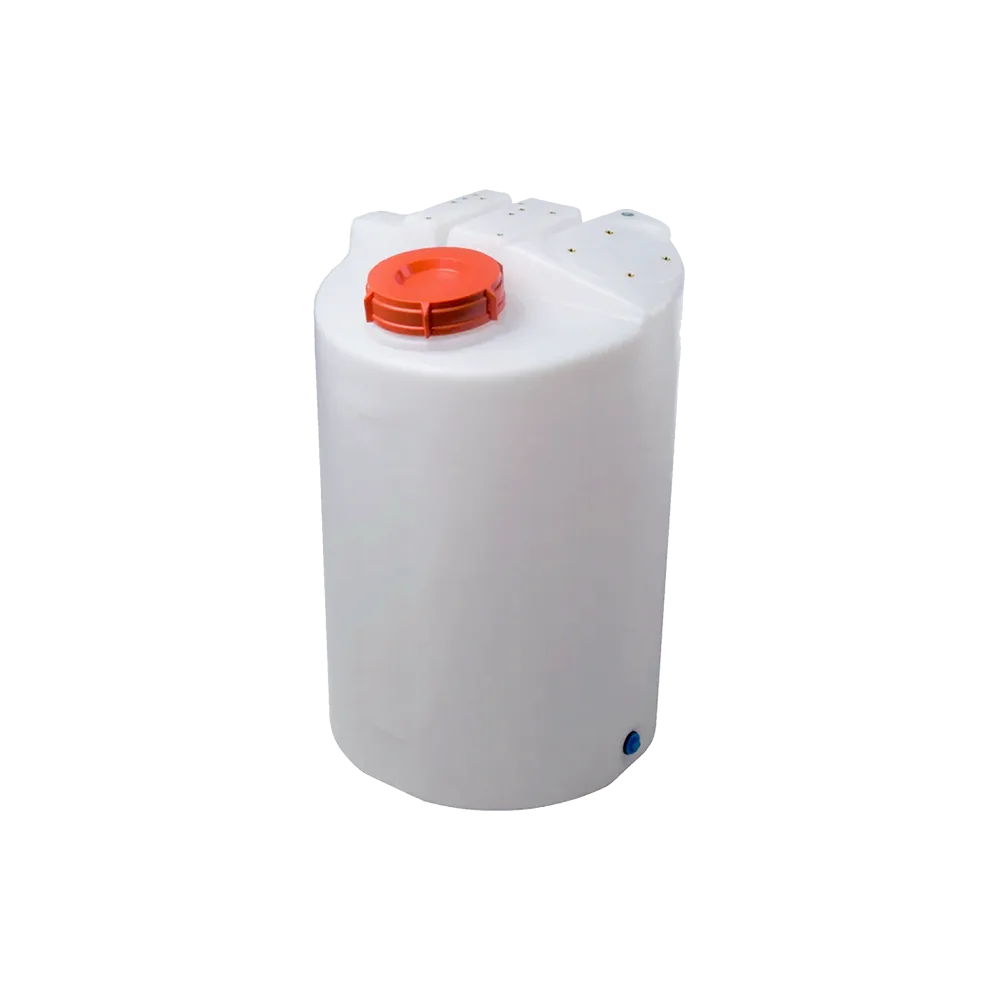
- 100 L chemical dosing tank – choose Blue for outdoor installation or Clear for indoor installation (lets you see the level at a glance).
- Chemical float switch (10 m cable) – sits in the chemical tank and stops the dosing pump if the chemical runs out, so it never runs dry or pumps air.
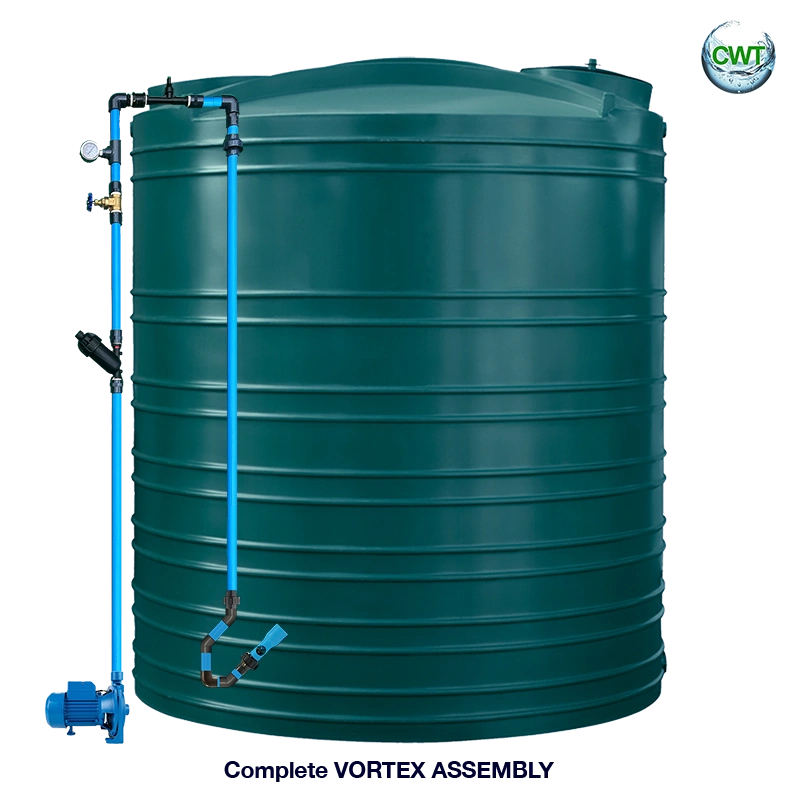
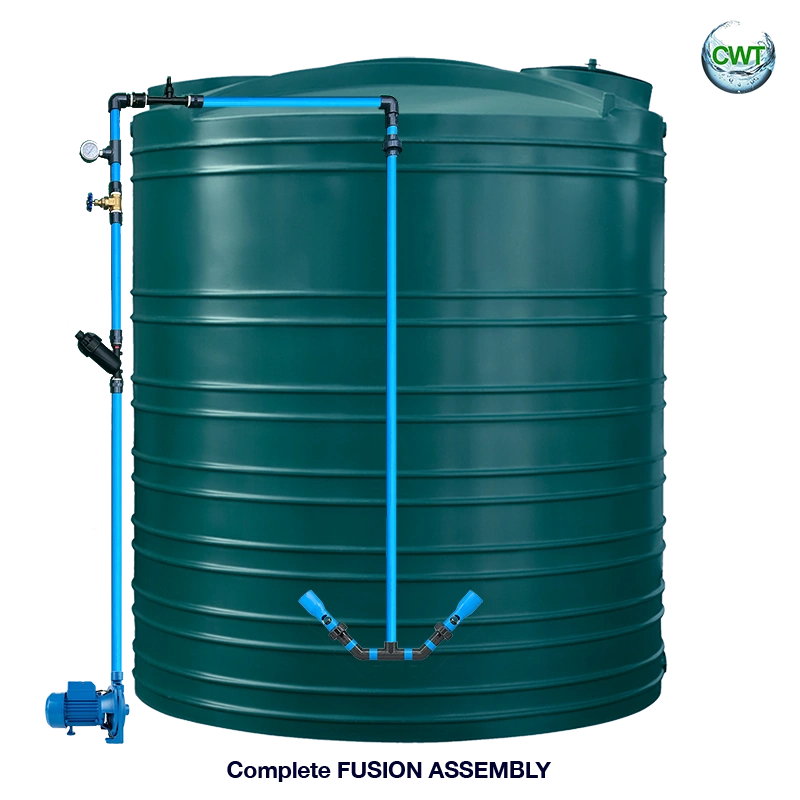
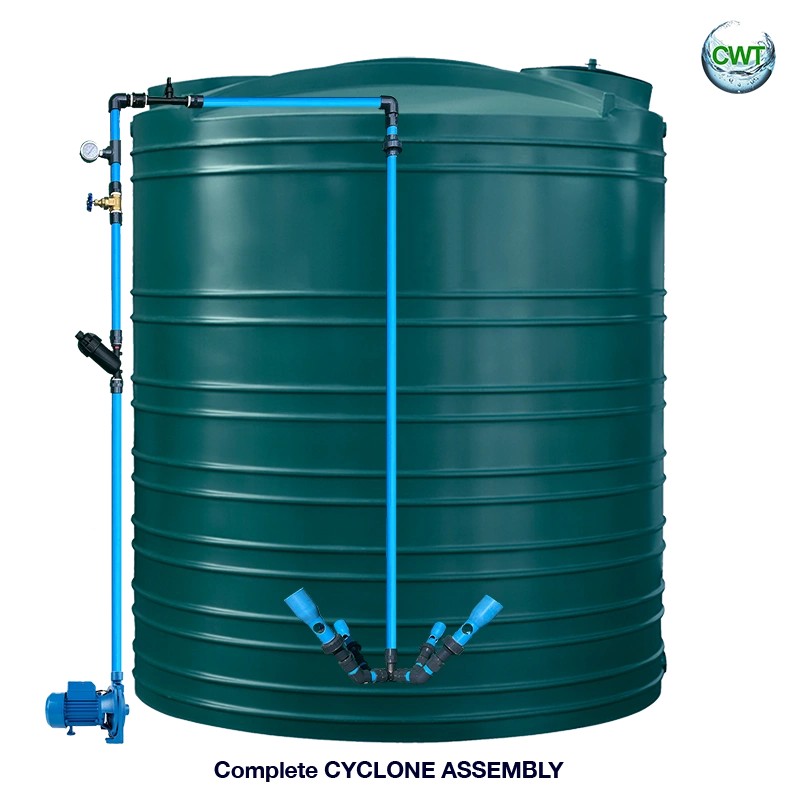
- NanoJet™ Borehole Pressure-Boost assembly, sized to your tank – VORTEX™ (1,000–2,500 L), FUSION™ (2,500–5,000 L) or CYCLONE™ (5,000–10,000 L). Includes the pipes and connectors, mesh filter, gate valve, pressure gauge, venturi injector, NanoJet™ turbulence reactor and 1.1 kW pump.
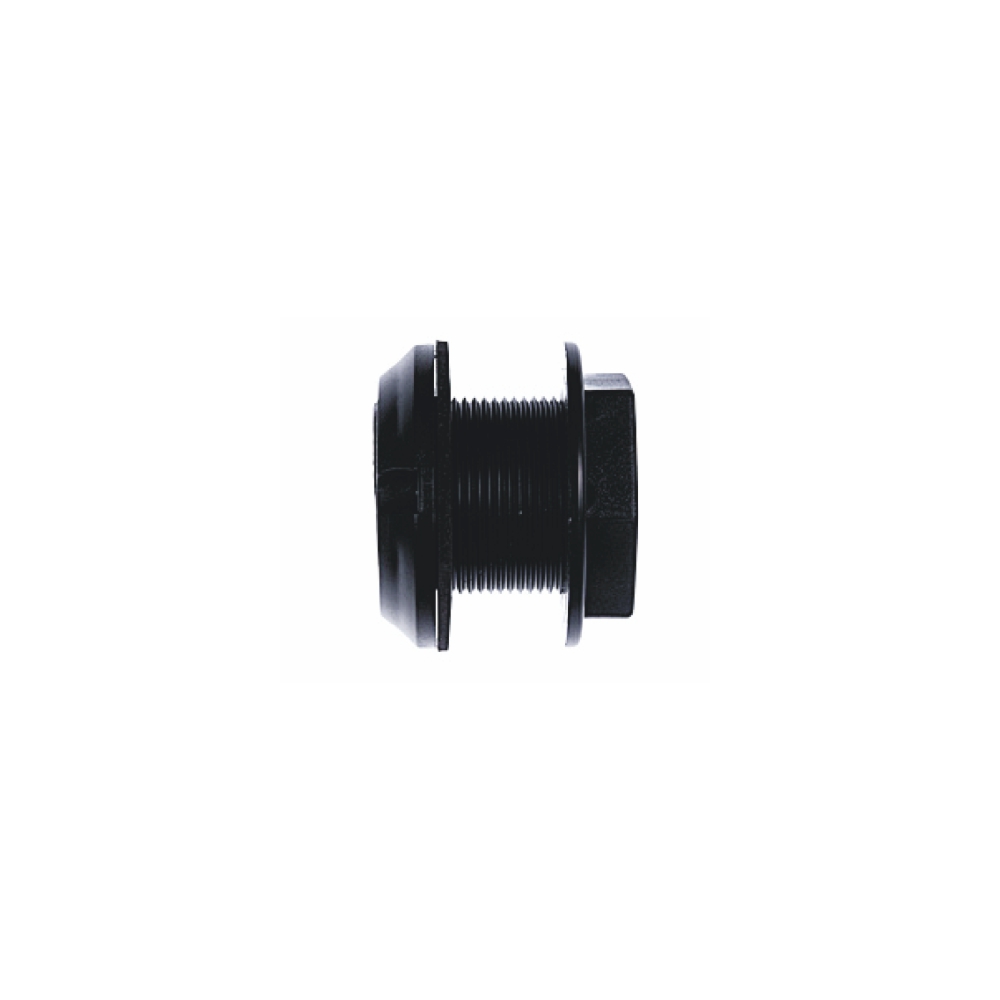
- Tank connectors (25, 32 or 40 mm) – optional, to suit your tank outlet.
Recommended chemicals
- Sodium carbonate (soda ash) – best for a starting pH of about 4.0–6.9. It buffers, adding pH and alkalinity gradually, which prevents overshooting. The usual choice.
- Caustic soda (sodium hydroxide) – for very acidic water below about pH 4.0. A strong base that moves pH quickly but buffers poorly, so it needs precise control and careful handling.
Not included
- Soda ash or caustic soda – we’ll recommend which suits your water.
- Why chemicals are separate: treatment chemicals are heavy and expensive to ship, so it is usually far cheaper to buy the recommended chemical from a supplier near you. We’ll tell you exactly which chemical and strength to buy, and it is also available from us as a separate product.
- Installation (available on request).
Wiring and set-up
- Run the recirculation pump whenever raw water is filling the tank (wire it to the same supply). If the water stops moving, the probe reads stagnant water and the dosing goes wrong.
- The chemical float switch only protects the dosing pump; it does not control the recirculation pump.
- Calibrate the probe at commissioning with pH 7 buffer solution, then pH 4 or pH 9, and check it regularly after that.
Safety
Caustic soda is highly corrosive and soda ash is an irritant. Wear gloves and eye protection and always add the chemical to water, never water to the chemical.
| SKU | NDS-A--0337 |
| Variant SKU | NDS-A--0337-DEFAULT |
| Brand | CWT |
| Condition | New |
| Stock | In Stock (Unlimited) |
Reviews coming soon.